Hey! How are things? I hope the beginning of the year is looking great for you all. As promised, I am back to continue the open notebook for the implementation of a Core ML model in a simple iOS app. In one of the previous post we created a linear regression model to predict prices for Boston properties (1970 prices that is!) based on two inputs: the crime rate per capita in the area and the average number of rooms in the property. Also, we saw (in a different post) the way in which Core ML implements the properties of the model to be used in an iOS app to carry out the prediction on device!
In this post we will start building the iOS app that will use the model to enable our users to generate a prediction based on input values for the parameters used in the model. Our aim is to build a simple interface where the user enters the values and the predicted price is shown. Something like the following screenshot:

You will need to have access to a Mac with the latest version Xcode. At the time of writing I am using Xcode 9.2. We will cover the development of the app, but not so much the deployment (we may do so in case people make it known to me that there is interest).
In Xcode we will select the “Create New Project” and in the next dialogue box, from the menu at the top make sure that you select “iOS” and from the options shown, please select the “Single View App” option and then click the “Next” button.


This will create an iOS app with a single page. If you need more pages/views, this is still a good place to start, as you can add further “View Controllers” while you develop the app. Right, so in the next dialogue box Xcode will be asking for options to create the new project. Give your project a name, something that makes it easier to elucidate what your project is about. In this case I am calling the project “BostonPricer”. You can also provide the name of a team (team of developers contributing to your app for instance) as well as an organisation name and identifier. In our case these are not that important and you can enter any suitable values you desire. Please note that this becomes more important in case you are planning to send your app for approval to Apple. Anyway, make sure that you select “Swift” as the programming language and we are leaving the option boxes for “Use Core Data”, “Include Unit Tests” and “Include UI Tests” unticked. I am redacting some values below:

On the left-hand side menu, click on the “Main.storyboard”. This is the main view that our users will see and interact with. It is here where we will create the design, look-and-feel and interactions in our app.

We will start placing a few objects in our app, some of them will be used simple to display text (labels and information), 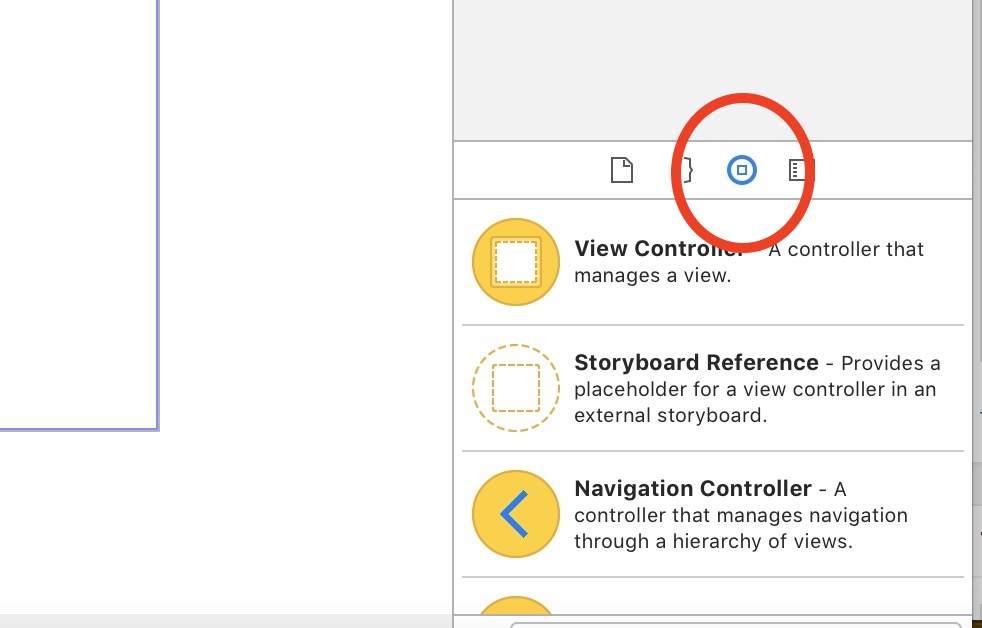 whereas others will be used to create interactions, in particular to select input values and to generate the prediction. To do that we will use the “Object Library”. In the current window of Xcode, on the bottom-right corner you will see an icon that looks like a little square inside a circle; this is the “Show the Object Library” icon. When you select it, at the bottom of the area you will see a search bar. There you will look for the following objects:
- Label
- Picker View
- Button
You will need three labels, one picker and one button. You can drag each of the elements from the “Object Library” results shown and into the story board. You can edit the text for the labels and the button by double clicking on them. Do not worry about the text shown for the picker; we will deal with these values in future posts. Arrange the elements as shown in the screenshot below:

OK, so far so good. In the next few posts we will start creating the functionality for each of these elements and implement the prediction generated by the model we have developed. Keep in touch.
You can look at the code (in development) in my github site here.
Pingback: CoreML - iOS Implementation for the Boston Model (part 2) - Filling the Picker - Quantum Tunnel Website
Pingback: CoreML - Boston Model Complete app - Quantum Tunnel Website
Comments are closed.