If you have been following the posts in this open notebook, you may know that by now we have managed to create a linear regression model for the Boston Price dataset based on two predictors, namely crime rate and average number of rooms. It is by no means the best model out there ad our aim is to explore the creation of a model (in this case with Python) and convert it to a Core ML model that can be deployed in an iOS app.
Before move on to the development of the app, I thought it would be good to take a look at the properties of the converted model. If we open the PriceBoston.mlmodel we saved in the previous post (in Xcode of course) we will see the following information:
We can see the name of the model (PriceBoston) and the fact that it is a “Pipeline Regressor”. The model can be given various attributes such as Author, Description, License, etc. We can also see the listing of the Model Evaluation Parameters in the form of Inputs (crime rate and number of rooms) and Outputs (price). There is also an entry to describe the Model Class (PriceBoston) and without attaching this model to a target the class is actually not present. Once we make this model part of a target inside an app, Xcode will generate the appropriate code
Just to give you a flavour of the code that will be generated when we attach this model to a target, please take a look at the screenshot below:
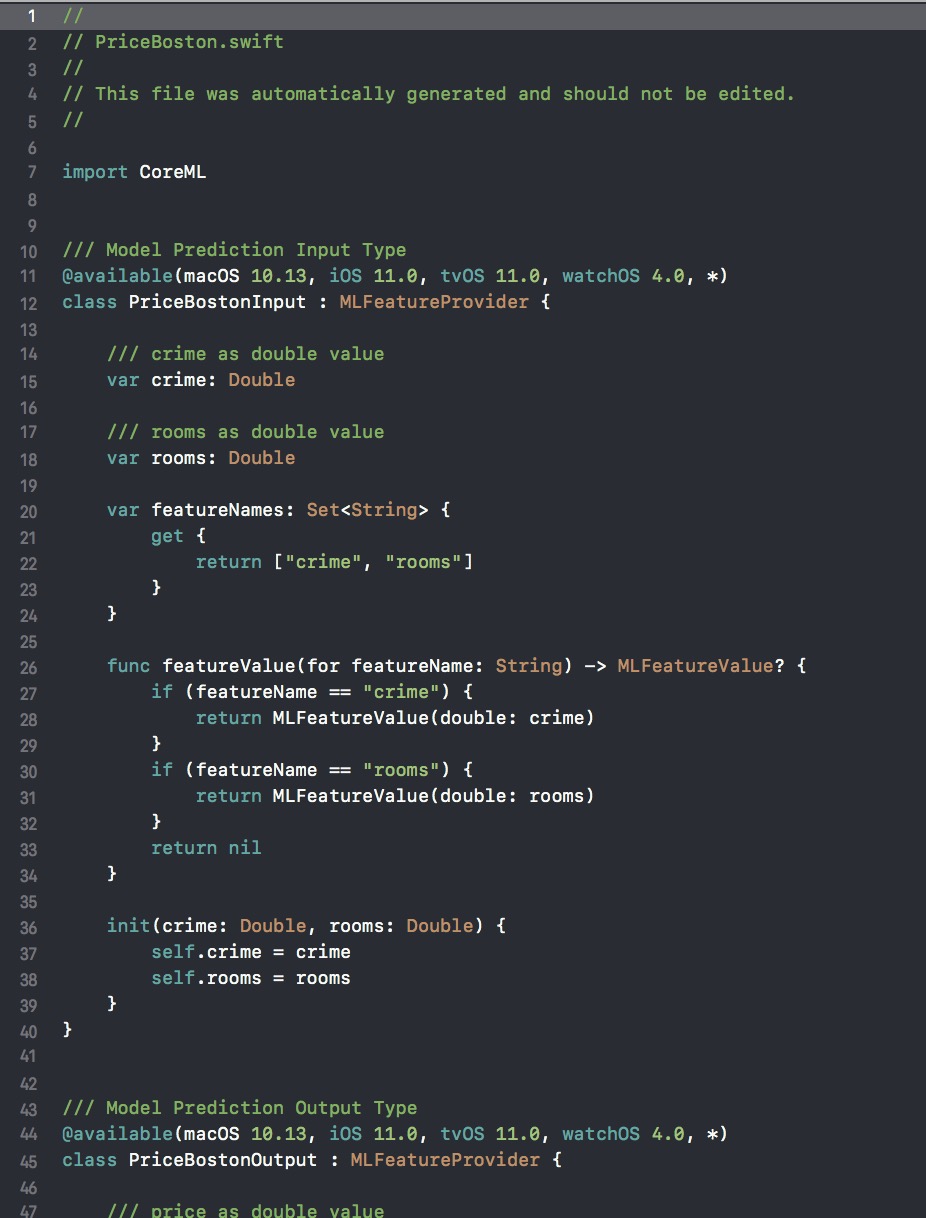
You can see that the code was generated automatically (see the comment at the beginning of the Swift file). The code defines the input variables and feature names, defines a way to extract values out of the input strings, sets up the model output and other bits and pieces such as defining the class for model loading and prediction (not shown). All this is taken care of by Xcode, making it very easy for us to use the model in our app. We will start building that app in the following posts (bear with me, I promise we will get there).
Enjoy!
Pingback: CoreML - iOS App Implementation for the Boston Price Model (Part 1) - Quantum Tunnel Website
Comments are closed.